We LOVE our teachers!! So yesterday my sister and I went to Jo Ann Fabric and Crafts trying to come up with a clever gift that the kids could help put together quickly. And like most of my brilliant ideas, it actually came from my sister. My Materials : The terracotta pots, $0.69 each Acrylic paints hidden in my storage area Pinwheels, $1.50 from Jo Ann. A bag of individually wrapped mints from the grocery $1.00 I had the kids paint the rims of the terracotta pots, filled the pot with candy, stuck the pinwheel in it and TA DA!! Instant teacher gift. This would also be a good gift for Grandma and Grandpa, but since they read my blog, I will have to come up with something else.
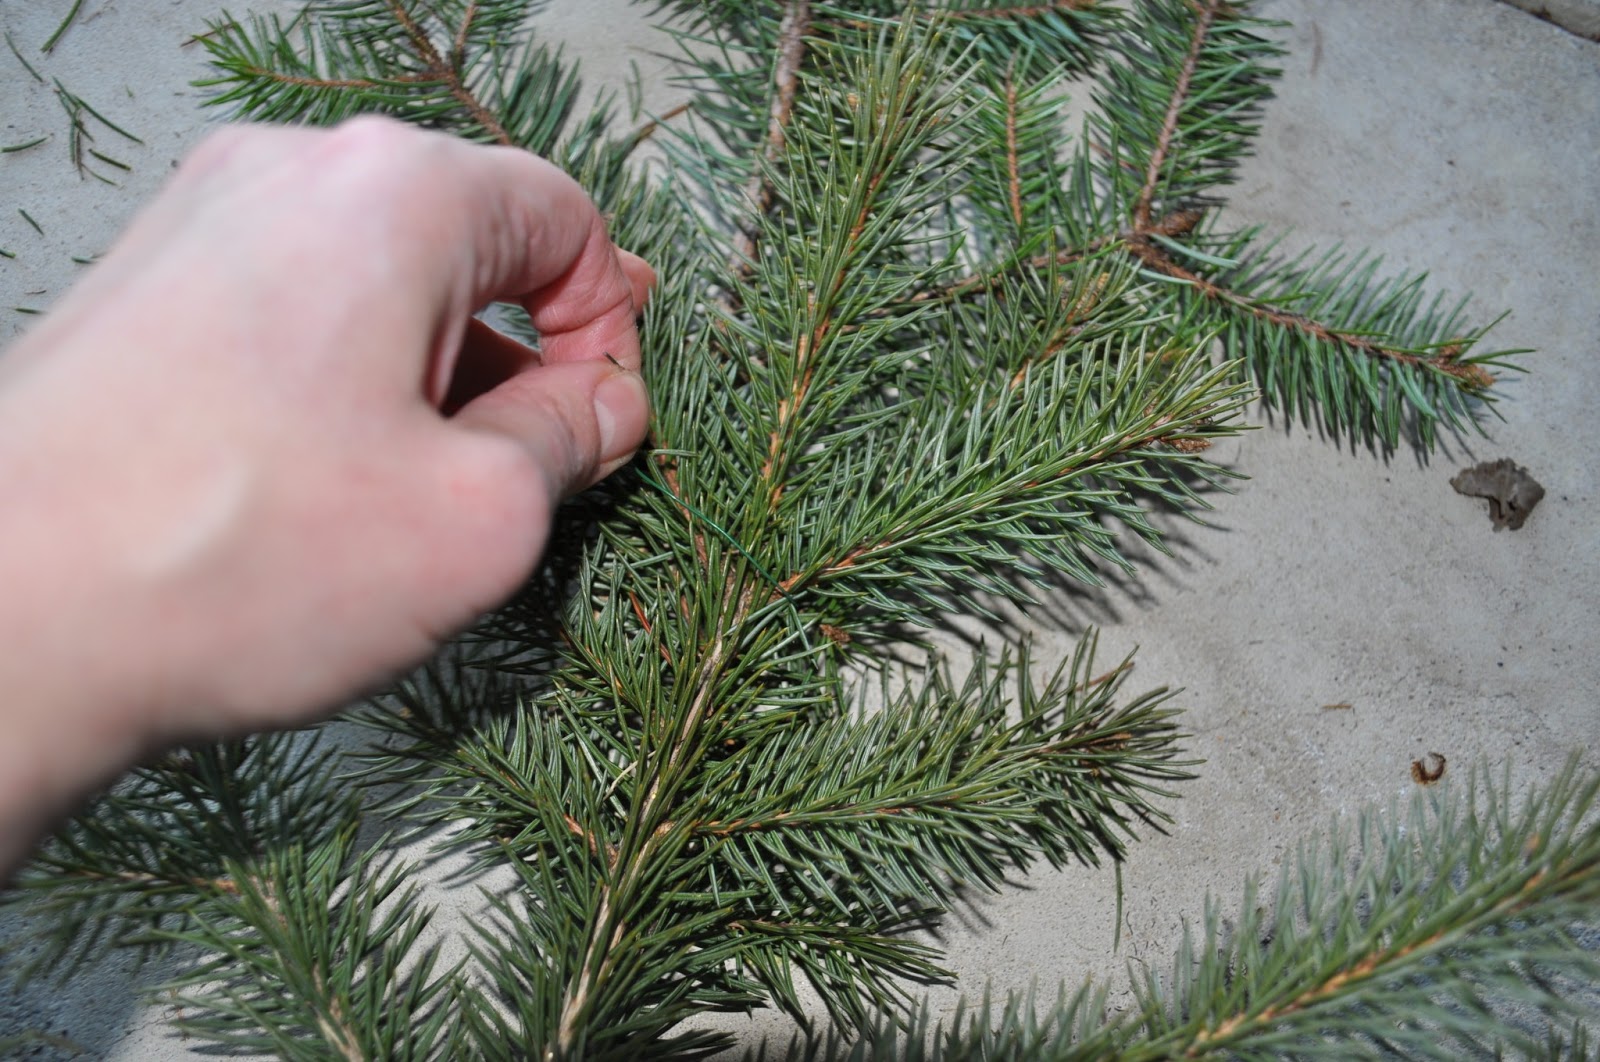
I have nothing to hang on my front door this time of year. I decided to attempt to hang a natural wreath on my front door. I live in the North East and it is cold enough this time of year to keep a natural wreath on your door for about a month until it starts falling apart. I have this beautiful blue spruce in the back yard so I took some clippings from the bottom of the tree, not the middle or the top. You don't want to make the tree ugly, you still have to look at it.
Materials: Green florist wire, branch clippers, wire cutters and an evergreen tree. The florist wire is around 2 or 3 dollars.
I cut the florist wire into 12 - 5 inch strips. I used clippers to trim down the branches to be the length of my elbow to my wrist. Anything left over, I cut off the main branch so I could have fill in pieces. I laid down the main branches and tied them together from tip to end, securing them in two places, on each branch with the florist wire.
Unfortunately, the darn thing was floppy. Apparently the wired branches will not hold a circle when picked it up. I looked around the garage for something with a circle shape... and found a hula hoop that I made last year from an irrigation hose. I wrapped the florist wire around the hula-hoop and the branches to secure the floppy wreath on the hula-hoop. I shoved in the filler branches in any place that looked thin, put a bow on it and TA DA!
My daughter was a little annoyed to see her hula-hoop on the front door. Now I realize that I could have used a wire hanger and shaped it into a circle instead of using her hula-hoop. Next time I will give that a try. Another thing I would have done differently is use gloves, I scratched the heck out of my hands and forearms.
I can't seem to do anything low key. Its always got to go well beyond expectations. Is there a disorder in the DSM that describes this behavior?
This year I was so excited about doing our first science fair in March, I made my daughter choose her topic in January so I could get started thinking about it. She picked The nervous system because of this schoolhouse rock video.
So I pulled together 5 age-appropriate Neuroscience experiments that an 8 year old could perform and understand from the internet. Thanks for the help University of Washington, what a wonderful website! My sister-in-law also gave me some ideas because she did a model of the peripheral nervous system with string and cardboard when she was a kid using yarn as the peripheral nerves. I went over all of these ideas with my child and she had some ideas, such as "What if we could make the peripheral nervous system light up?"
CHALLENGE ACCEPTED!!!
I went through the toy-box to examine everything we have that lit up. I found some toys made with fiber optic lights. BINGO! but they were only a couple of inches and my daughter wanted it to be about 3 feet high so I searched the internet and found a website that sold fiber-optic side-glow cable by the foot. The great thing about fiber fiber-optic side-glow cable is that you just shine a light on it and it glows.
PROBLEM: The bad thing is that for you to see the cable glow, it has to be about two times brighter than the room.
SOLUTION: I went to the UPS store and bought a box 3 feet high and spray painted the inside black. My daughter wanted to also spray it with black glitter spray for that extra pizzazz.
My daughter drew an outline of a kid body inside the black glitter box with white chalk, punched a hole in the top of the box where the brain would go and pushed in the fiber-optic side-glow cable and slid it into place.
PROBLEM: When we went to tape in the fiber-optic side-glow cable on the painted glitter box it would not stick. DUH. I have worked with enough glitter stuff enough to know that scotch tape will not stick to a glittered surface.
SOLUTION: I used wires to put everything in place. At this point she could not help and now it was more my project than it was hers. Who knew that was going to happen? Everyone probably.
It was very difficult to punch that wire though the box. I had to use a pin to start it then fish the wire through. It took forever and that pinchy wire hurt my hands.
PROBLEM: We had to make a brain out of clay and some how attach it on top of the fiber-optic cable entering the box.
SOLUTION: I cut a spongy ball in half and molded the clay around it. Then rolled some clay into a long skinny worm and put that all around. I pushed that awful wire though the spongy half ball, I pushed the wire through the cardboard box and Viola! Brains! I put our lizard light on top of the box where the the cable was and it looked great. Of course I used energy efficient light bulbs because they are low heat and I didn't want to light the box on fire or melt the fiber-optic cable.
My daughter has these really great light up multi color blinking shoelaces. We decided to wrap them around the spine to make the central nervous system a little more special.
PROBLEM: My daughter didn't like the fact that our peripheral nerve model was white. She wanted colorful nerves.
SOLUTION: I put plastic Easter egg halfs (pink, yellow, orange, purple) on top of the fiber-optic cable and wow!!! It really gave it that extra kick.
This was probably enough for the science fair, but of course, I still wanted her to perform the 5 experiments on the kids to explain how the nervous system works. We studied the the different functions of the nervous system. I typed out the terms that were the most important and I had her define them in her own words, incomplete sentences and all.
Experiments.
#1 Visual Illusions.
This shows how you
can trick your central nervous system.
Read the half covered words at the top of my poster. What do they say?
Lift the paper and see what it really says. Our eyes see the half letters then
sends a message is sent to our brains then the brain fills in the part you do
not see.
#2 Two points of
Discrimination Test
This shows how
sensitive your nerves are on different parts of your body. Take 2 toothpicks and put them close together
on the tip of your finger, does it feel like there are 2 or one toothpicks?
Move them farther apart, does it feel like two or one toothpicks? Repeat on your elbow. Can you tell the difference between one or two toothpicks on your elbow?
#3 Autonomic vs.
Somatic Blink Experiment
This shows how you
can control blinking (somatic) and how you blink automatically (autonomic). Control the movement of your eyes by
blinking. Have a friend clap their
hands in front of your face and you will automatically blink without even thinking
about it.
#4: Digestion Response
This shows how the
parasympathetic nervous system works. When you are at rest, your body digests
your food. Smell the mystery box. Does that make your mouth water? Saliva is part of digestion and the smell of
oranges causes your parasympathetic system to respond by making more saliva.
Smell the other mystery box, does this give you the same reaction?
#5: Flight or Fight
Response and Heart Rate
(FOR 3rd
graders and up) This shows how our sympathetic nervous system reacts. Watch the movie; does your
heart rate go up? If it does, I caused you to have a sympathetic response.
The number 5 experiment was a big hit with the classmates. I thought I was going to get in big trouble but most of the kids were familiar with this youtube video already.
Now if there was a prize for this Science Fair, we would have won. But it was only for participation. That doesn't matter, I enjoyed every second and I can't wait until next year's science fair.
Everyone wants to know why my kids know their multiplication tables before entering the second grade. Its not because my children are geniuses... its because their mother is one. HA HA! Not really that either. It's actually quite simple, when we are in the car together we sing multiplication songs, every time. Yes, sometimes they get tired of these songs, but I push on through and make them sing it because, I'm the mom, and that's why.
Automatic recall of multiplication facts is the key to success in higher mathematics. When you automatically know your facts, it frees up your brain to concentrate on other more complicated things in math. How do I know this? I was a math major in college. Now, don't go and naturally assume that this is genetic and just because I'm good at math means that my kids will be good at math. My own mother didn't even have algebra in high school, but she sure did know her addition and multiplication facts and she made sure I knew them too. When a child has a firm grasp of basic elementary school mathematics, by having their math facts memorized, they will succeed in math. Skip counting is just one step in learning multiplication facts, with enough flash cards, drills and practice work sheets, eventually, they won't need to sing the songs anymore. Enjoy the video's below with my kids and friends singing and skip counting to familiar songs for 3, 4, 6, 7 and 8. I show the finger trick for number 9. I figure, skip counting by 2's and 5's is easy, so I didn't bother to make a video for those. I hope these videos inspire you to sing skip counting songs with your kids in the car!
Count by 3s with "Three is the Magic Number" (You probably can hear my hoarse voice trying to keep them to a beat. One of those darn kids gave me strep.) I love this Blind Melon song. One of my favorites, probably because I was in the School House Rock generation.
Count by 4s to "Row Row Row your Boat"
Count by 6s to "Brother John"
Count by 7s to "Twinkle Twinkle Little Star"
Count by 8s to "She'll be Coming Around the Mountain"
Count by 9s table finger trick. This is not a song, but it is VERY cool! I just taught her this 5 minutes before she did the video!!
So one of my craft friends suggested we do a craft exchange. She is big into mustaches so when I saw this on piccsy.com I KNEW I had to make her one and ship it to Florida. I made a printable with all different mustache shapes and sizes so that you can make one too!!!
The materials for this project are a glass jar and Painters Opaque Bright Medium Markers . I bought a Ball canning jar because my glass recycling just went out yesterday. I could kick myself for tossing all those glass jars into recycling can.When I first used the acrylic "Painters" marker, it scratched right off. I happen to know that sometimes acrylic will bake on glass, but couldn't find any instructions on this particular marker brand on the internet. I decided to experiment with what I had. Shockingly, I got the bake time correct the first time. Complete instructions are below.
1) Print out the printable sheet at the bottom of the blog
2) Cut out and around the mustache you like
3) Tape the cutout inside your glass jar
4) Trace the image with the acrylic paint pen on top of the glass jar
5) Let it dry for 24 hours
6) Scratch off any mistakes with a toothpick
7) Put the painted jar in a cool oven (DO NOT PRE-HEAT). Turn the oven on at 320 degrees and set the timer for 30 minutes. At the end of 30 minutes turn off the oven and allow the glass jar to cool inside the oven. This is so your glass will not crack (Cracking happens when glass is exposed to extreme changing temperatures) There is not a person on this planet who's printing is worse than mine, but apparently I can easily trace over something and it will turn out decent. There is no reason why your's won't turn out just as wonderful, so invest the three bucks in the Painters acrylic pen and give these small gifts to your friends, to your kid's teachers, to your mom! I can't wait to ship these to my crafting girlfriend as a thank-you! She is such a great crafter and her blog inspired me to start my own!
Did you ever take a picture that you absolutely LOVED and wondered "How in the world did my little dinky 5 mega pixel Cannon with zoom action take such a fantastic picture?" Then you purchase 4x6 prints from some online photo shop, stick it in a photo album, never to be seen again.
Well, I've got a better idea. Why not make it into art for your house? This way you can admire your fantastic picture all day long.
There was a sale at Mpix.com on Canvas Gallery Wraps. I Was able to get the 8x10 wrap with a nice discount. Sale prices always entice me to try a product. The canvases range from $55 to $170, depending on size. I realize that some may think the cost pricey, until you see what they look like on your wall. It looks like an expensive piece of art. I'll never buy art again, or even an expensive frame. You can spend more than $170 to have a picture framed alone, I think this is a better option.
It would make a fantastic gift for a grandparents, or even just a treat for yourself. I know as soon as my mom sees this on my wall she's going to want one!!!
I'm willing to try almost ANYTHING once. I never let my fear of ability prevent me from doing anything, that is why I thought I could fix my 5 year old Roomba 560. I had already replaced the front wheel, the dirt bin, the battery and the brushes, so when Alice (the Roomba) was spinning around in circles and going nowhere I thought I could help her out.
I simply did this diagnostic test in the video, and it was very easy. The fix looked very easy too!!! It took like 3 seconds in the video!!! So for 15 dollars, I went on Amazon and purchased the Roomba error code 9 fix kit. I was more than excited to get going on this project when it arrived in the mail. The paper instructions told me to go to http://www.roombaparts4less.com/ for the fix instructions. I don't like to read over all the instructions first, that can be intimidating. I take it step by step and start with the first step... then two hours later I looked up and saw this on my kitchen counter.
And she couldn't put Humpty back together again.
Alice's guts all over the place. An overwhelmed feeling washed over my entire body. I didn't even get to the bumper sensor yet. How in the world was I going to get this all back together? My son was watching me the entire time and must have picked up on my dismay because he started chanting 'Go Mommy, go Mommy, go Mommy.' Well, who can give up with a little cheer leader like that encouraging you? So I pressed on, hoping that if I just stayed with the instructions that I would make it.
Finally getting to the bumper!!!
Here is the chip that needs to be fixed
I needed to look up Soldering instructions because I've only ever seen my mom do it on stained glass when I was a kid. The only thing I can tell you about it is that its HOT and kids get burned. After explaining this to my son several times, I convinced him not to touch anything near the area I was working. Guess what? I did it!! I replaced what I needed to replace!!!Now I had to but Alice back together. No instructions. Yikes!!!
I have to say, thank the great skies for You Tube and some guy who decided to video tape himself repairing a Roomba. I bet he made this video for the arm chair engineer like myself. My son loved watching this video with me. He made me watch it several times.
Even though I had 4 screws left over after 4 hours of Roomba Surgery, I had a feeling of accomplishment as I plugged in Alice to charge. Long story short...
Poor Alice, 4 missing screws and the same Error 9 code beep. Looks like the scrap heap for you. Goodbye dear friend.
 My Materials :